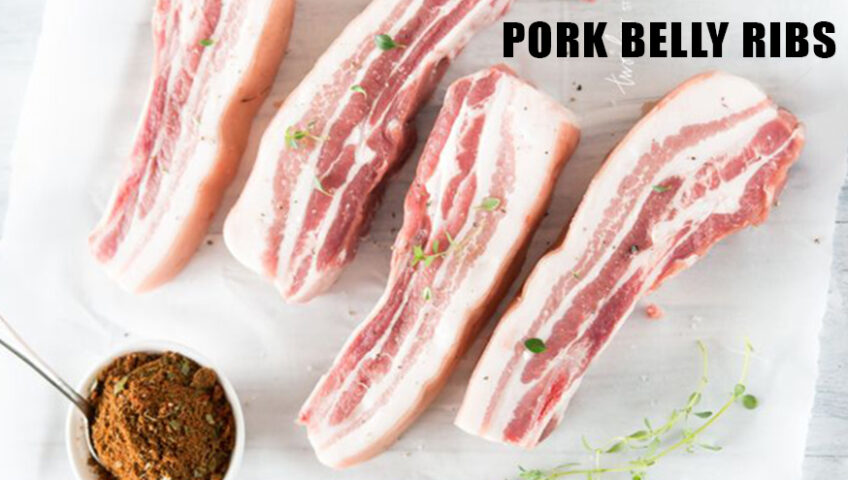

Pork Belly Ribs
Pork Belly Ribs are hard to find, but if you can get your hands on them, they are some of the most tender delicious cuts of meat you can cook.
What are pork belly ribs?
Let’s start with the 2 main types of pork ribs. Baby Back and Spare Ribs. Baby back ribs come from the part of the ribs that are connected to the backbone, beneath the loin muscle, and are curved where they meet the spine. Back ribs are shorter than spare ribs; they are very tender and lean and are usually wanted more than spare ribs, so they usually cost more.
Spare ribs are cut from the ends of the baby back ribs and run along to the pig’s belly and breast bone. One side has exposed bone — that’s where they meet the baby backs — and the other side, the side near the belly, is where the rib tips are, a flap of meat that has some small bones and cartilage in it. Compared to baby backs, spare ribs have more meat between the bones and less meat on top, and that meat generally has more marbling which means more flavor. The bones are straighter, longer, and flatter than baby back ribs making these ribs much larger. The reason they cost more is that baby back ribs tend to be more tender than the spare ribs.
Now, what on earth are Pork Belly Ribs?! First, what is pork belly? Pork belly is the part of the pig that is connected to the loin meat, it is a fatty, boneless cut of meat that comes from the belly of the pig. When kept whole, the cut looks like a brick of meat with a thick layer of fat running along the top and smaller layers of fat marbled throughout. Pork belly is most famous for the meat that turns into all of our favorite food, bacon!
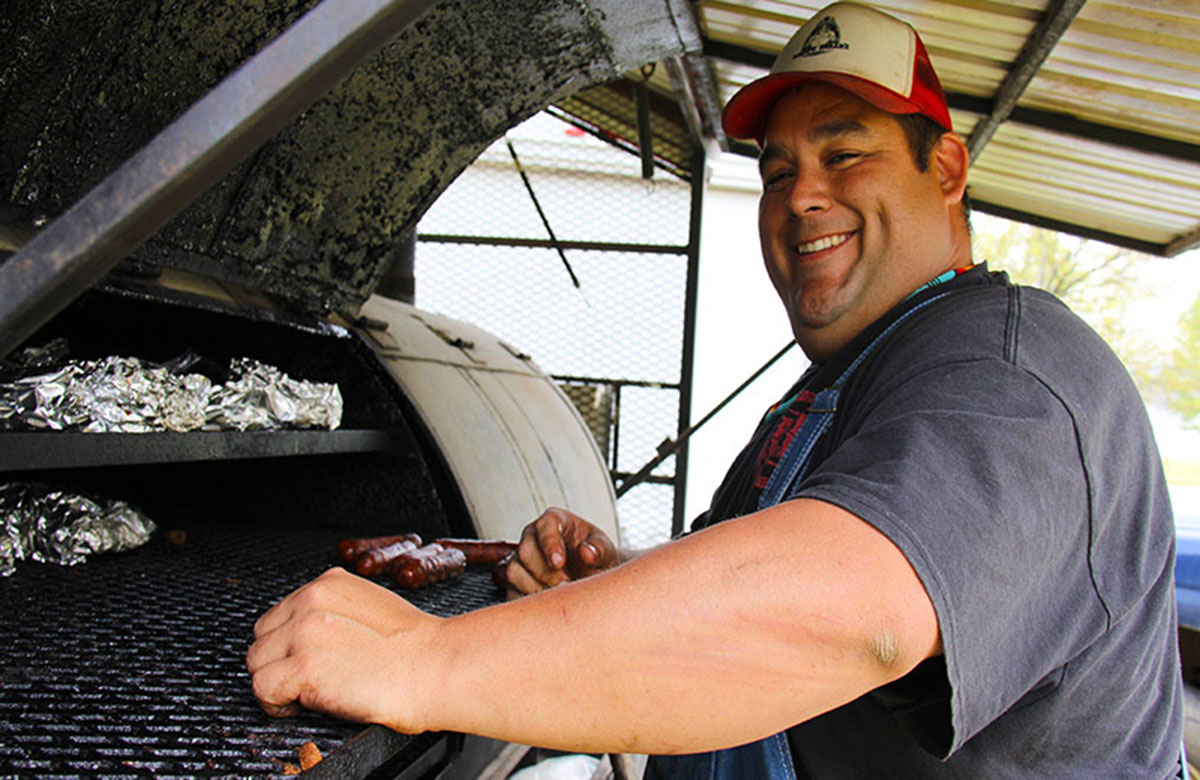
Pork Belly Ribs contain the spare ribs and the pork belly, simply put, pork belly ribs are spare ribs with the pork belly still attached. Keeping the pork belly on the spare ribs makes this cut of meat very large, usually you will find these in the grocery store with the ribs cut individually. These ribs are full of meat and extremely tender and melt in your mouth if cooked correctly. For this recipe, we went simple and smoked these at a low temperature as we would with most ribs, to break down the fat and make them as tender as possible. If you are lucky enough to find these ribs, you are in for a treat!


Ingredients:
• Pork Belly Ribs
• Your favorite rib bbq rub (We used savory pecan from Big Green Egg)
• A binder for the rub (e.g. Olive oil or Mustard)
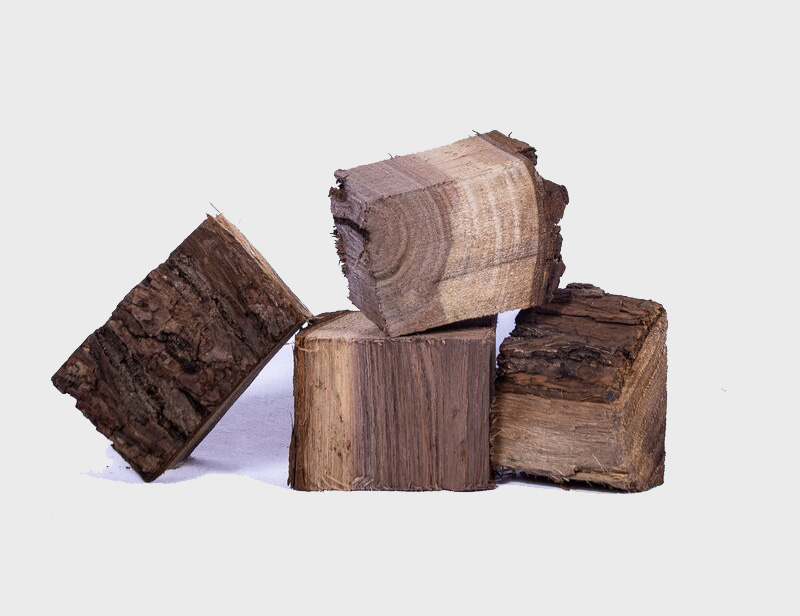
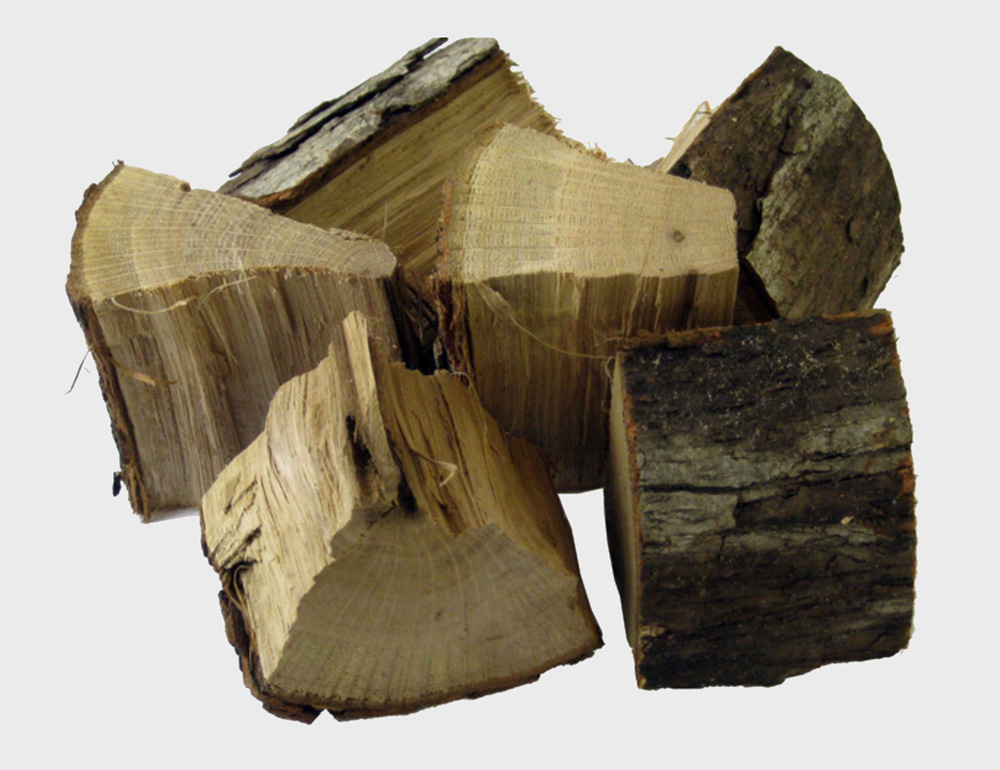
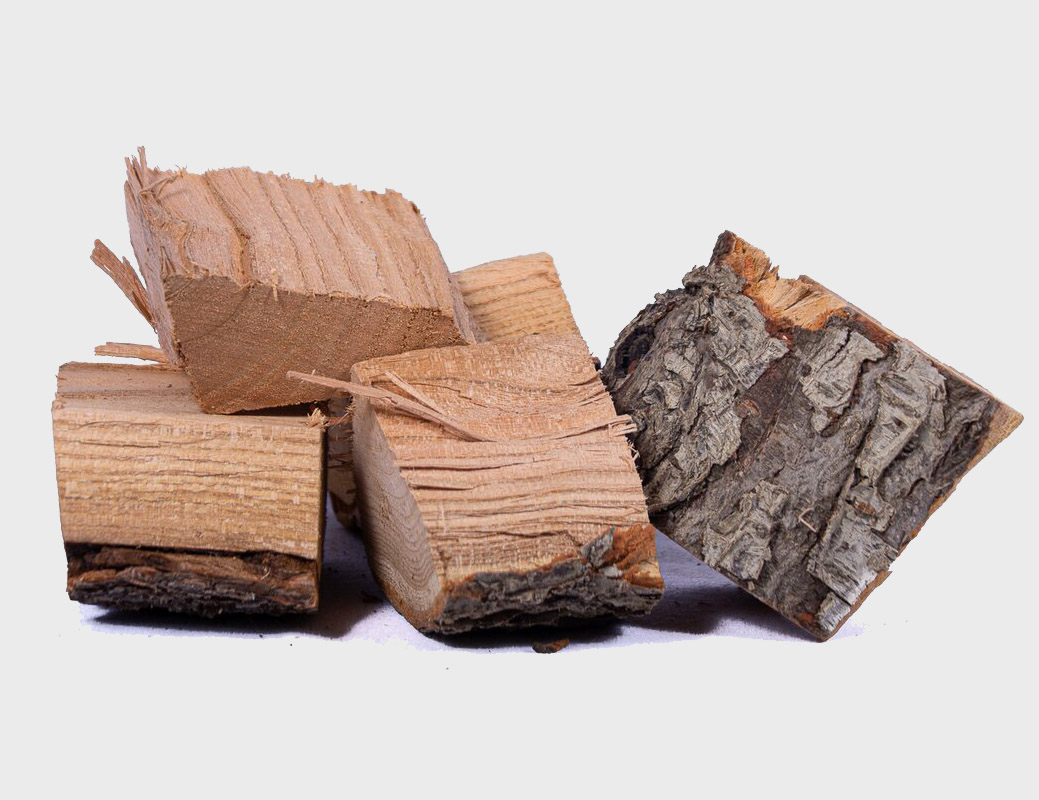
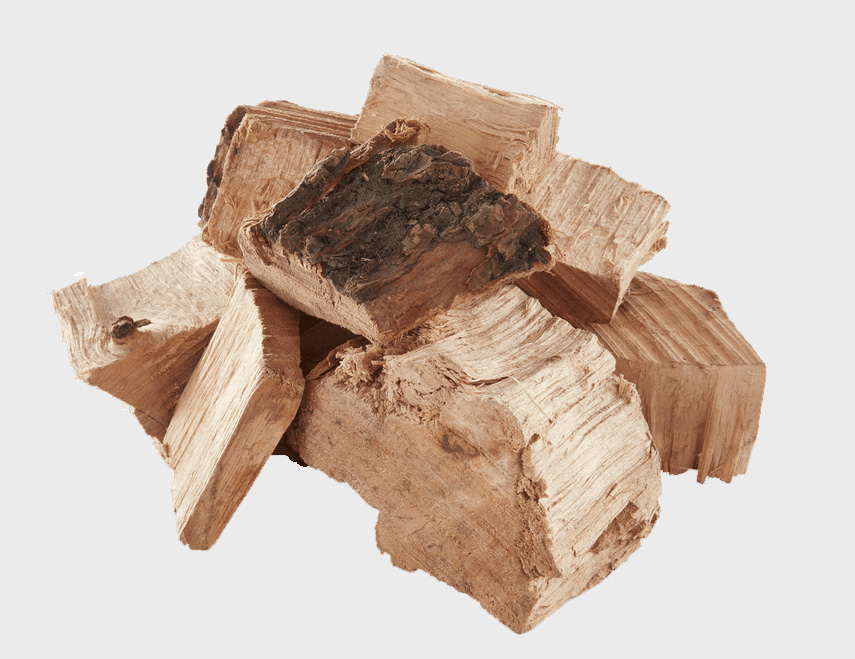
• Smoking chips or wood (optional but highly recommended)
• aluminum foil or butcher paper
• favorite bbq sauce (optional)
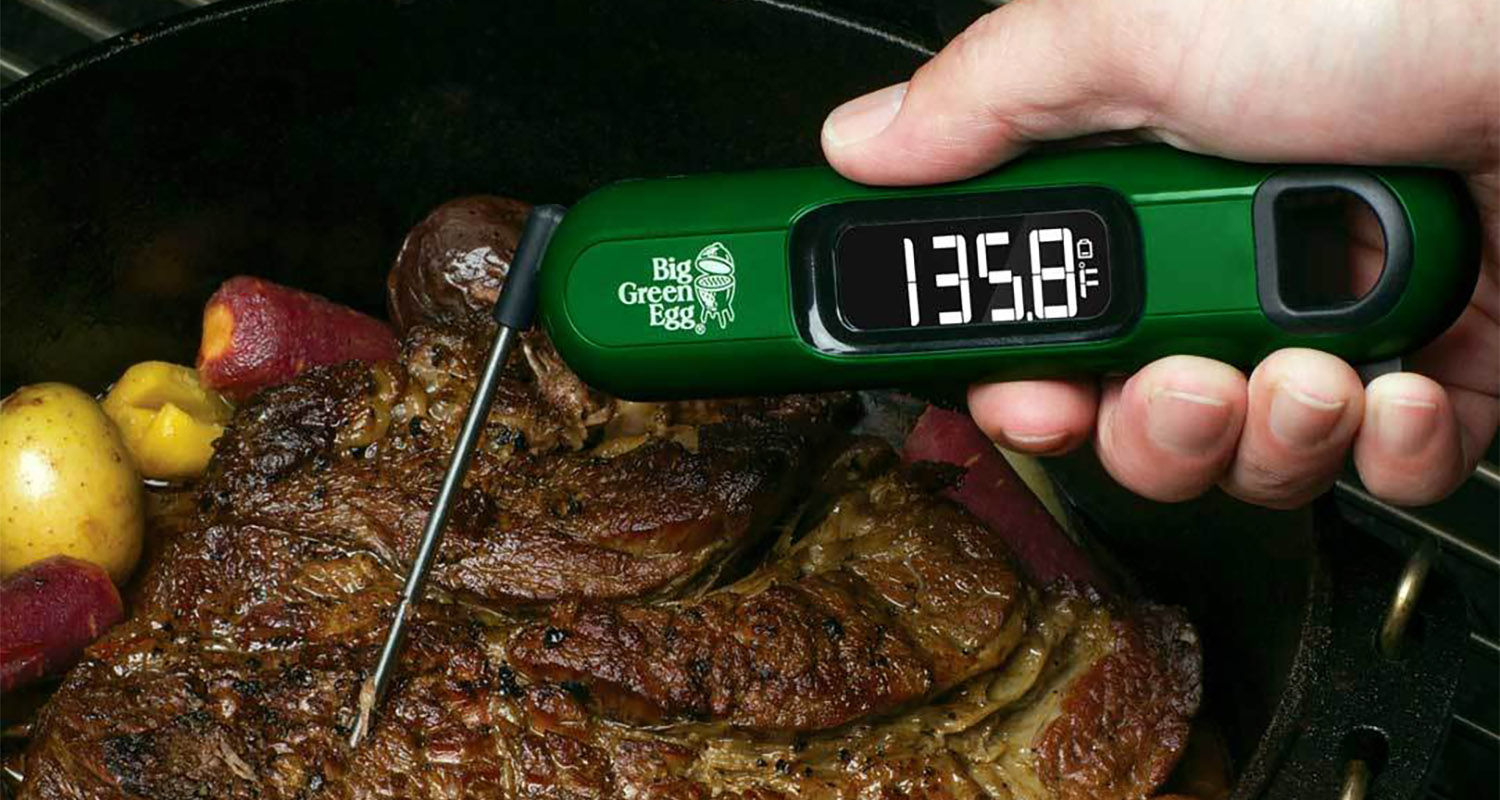
• Temperature probe (optional)
Directions:
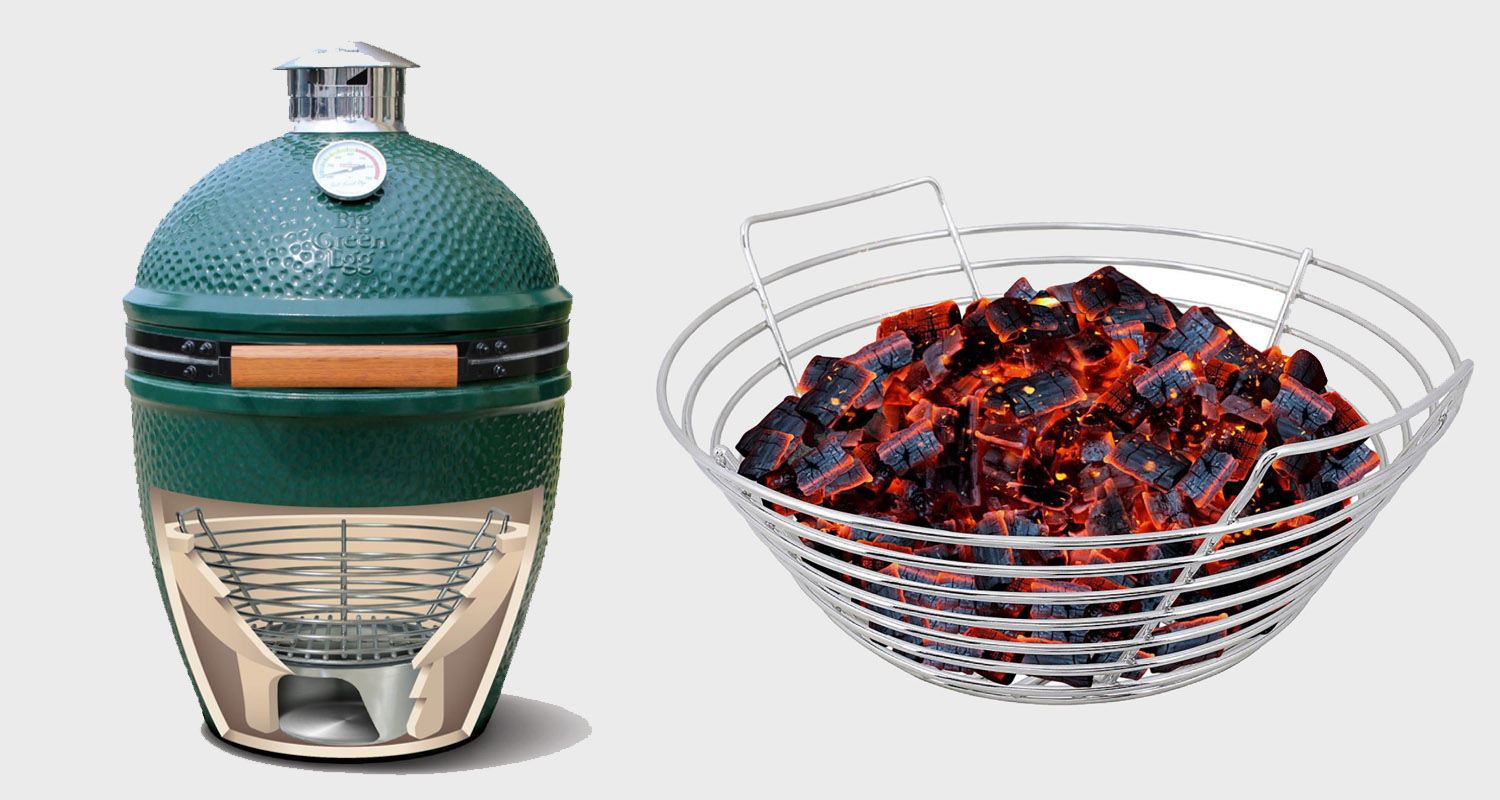
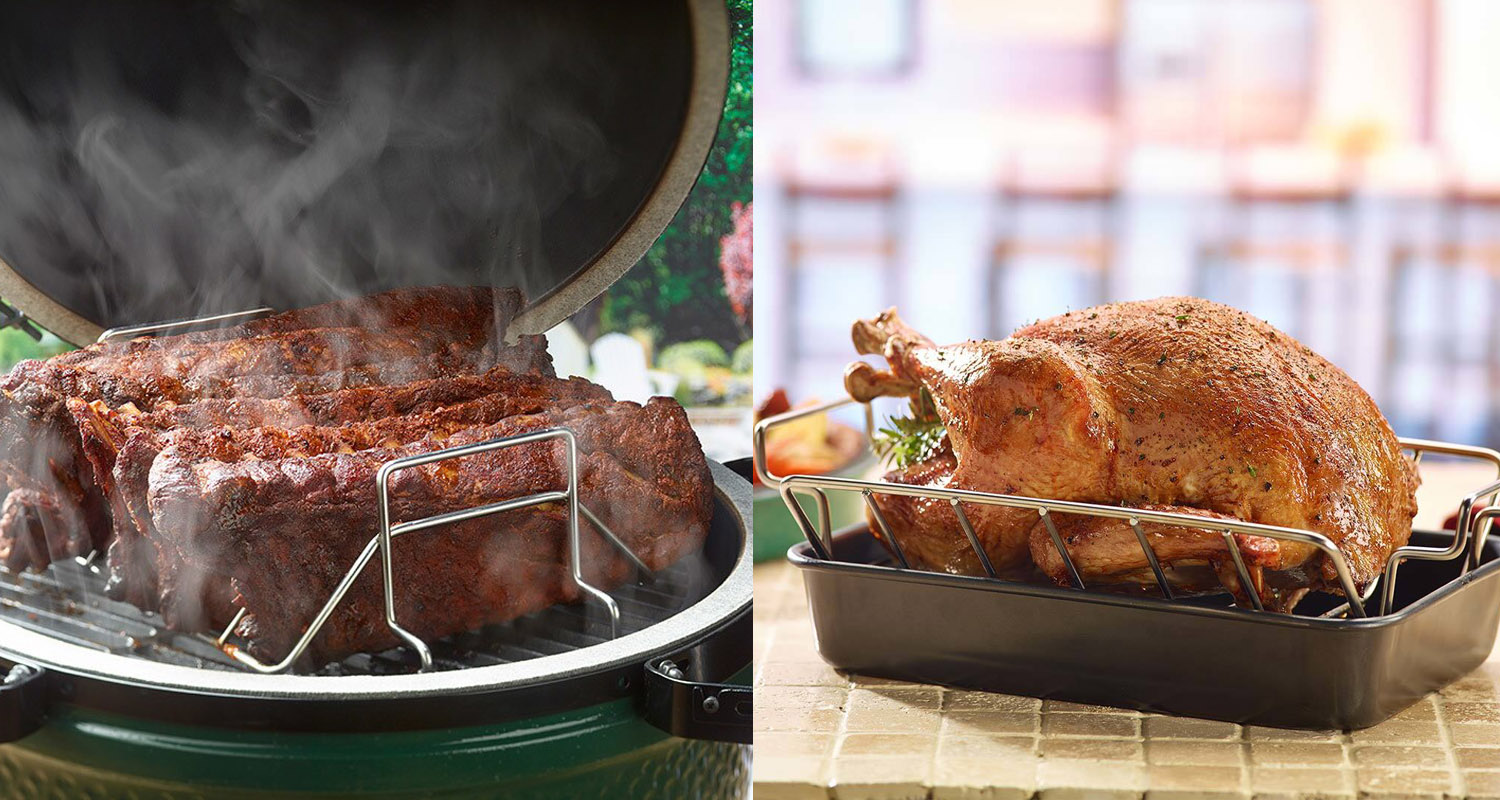
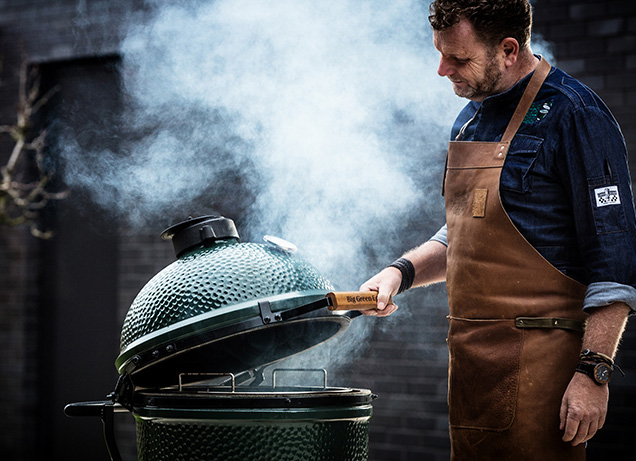
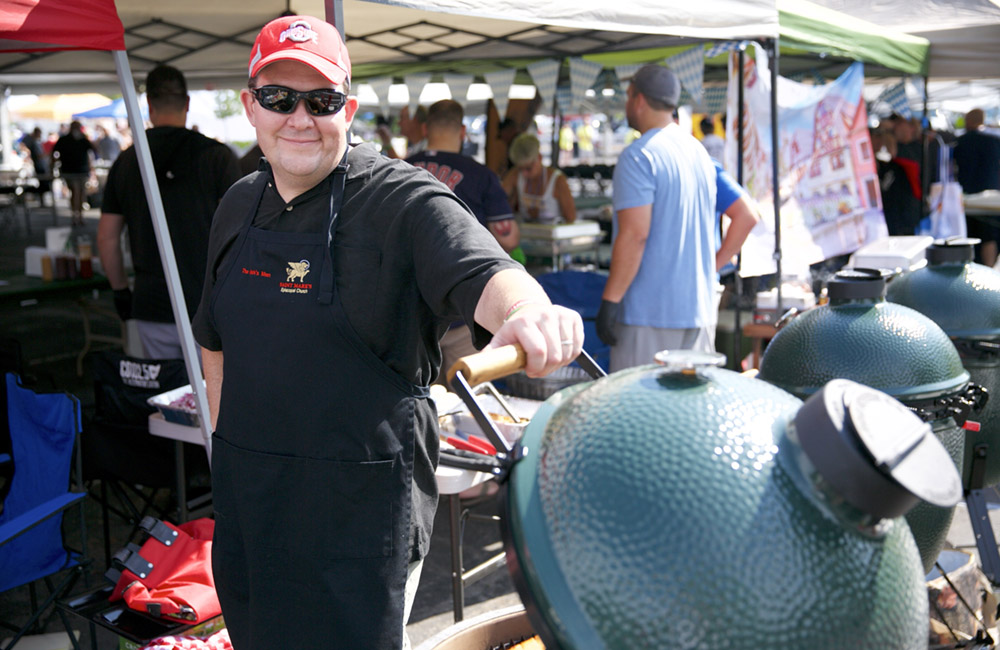
(We cooked these pork belly ribs on our Big Green Egg charcoal grill and finished them on the MHP gas grill, but feel free to use any grill/smoker you have or even your oven. But for the most flavor these should be smoked!)
1. Prepare your grill for indirect heat and set the temperature to around 250°.
2. Rub olive oil or mustard on your pork belly ribs to help the rub stick to the meat.
3. Pour your favorite bbq rub generously on all sides of the meat. Do not rub the rub into the meat, instead pat the rub into it for better adhesion.
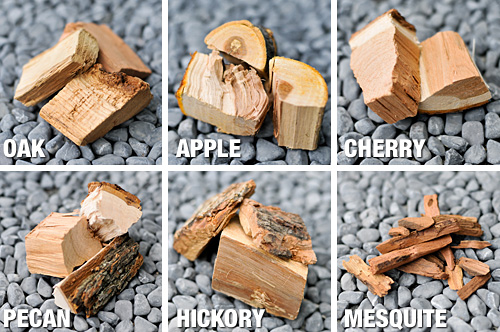
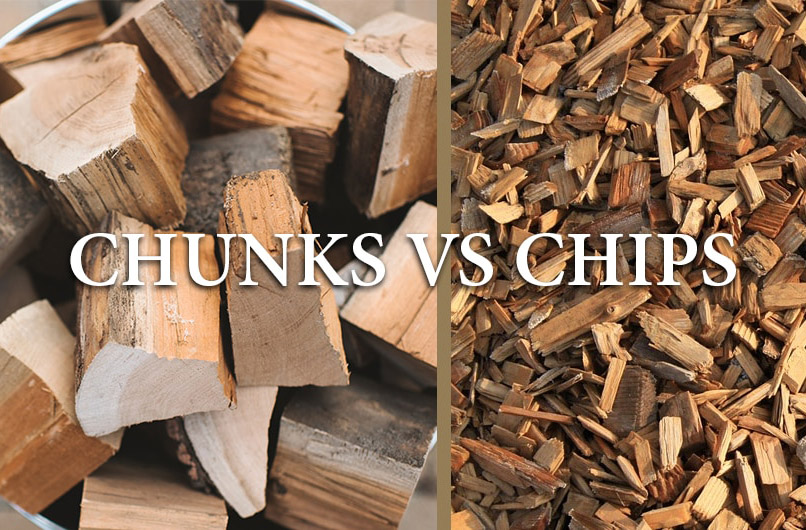
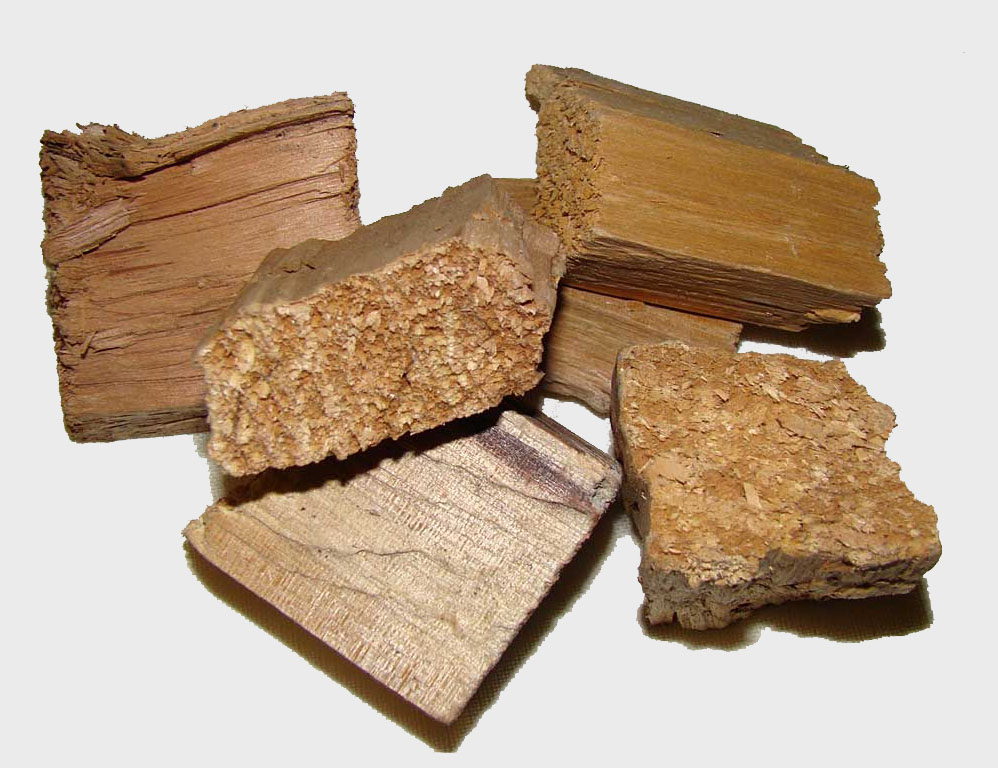
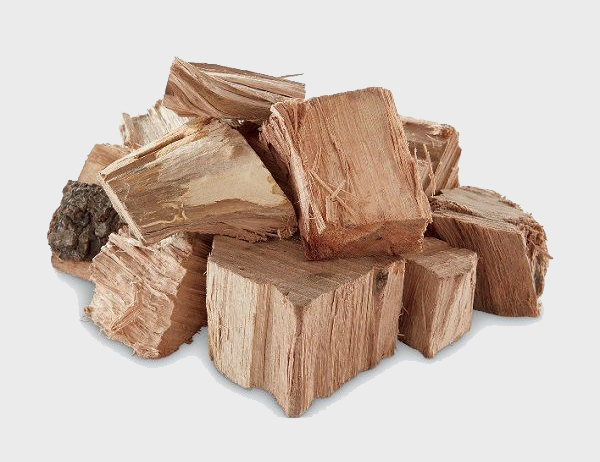
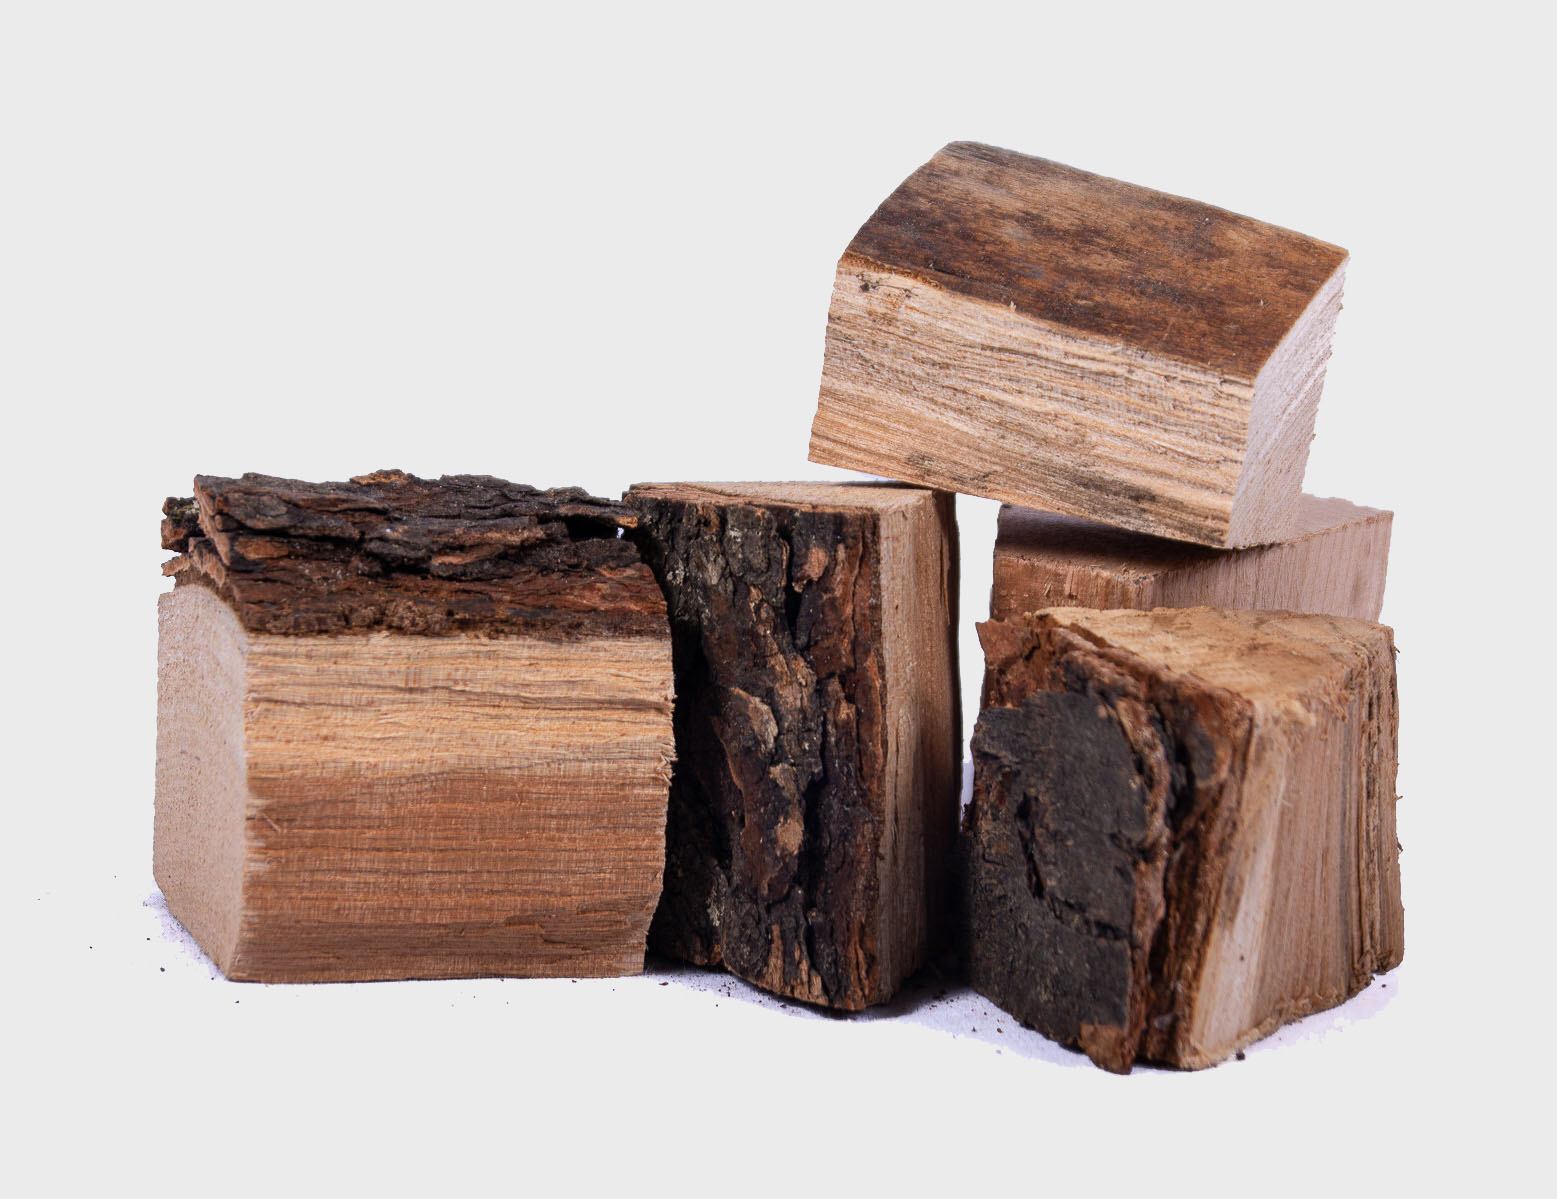
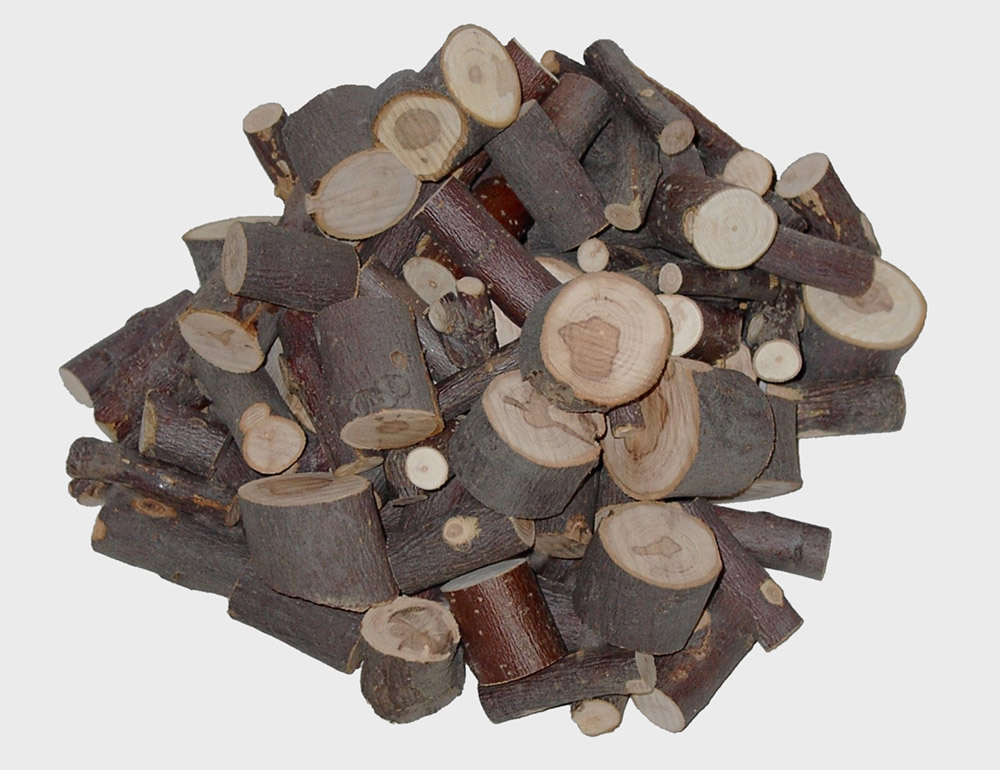
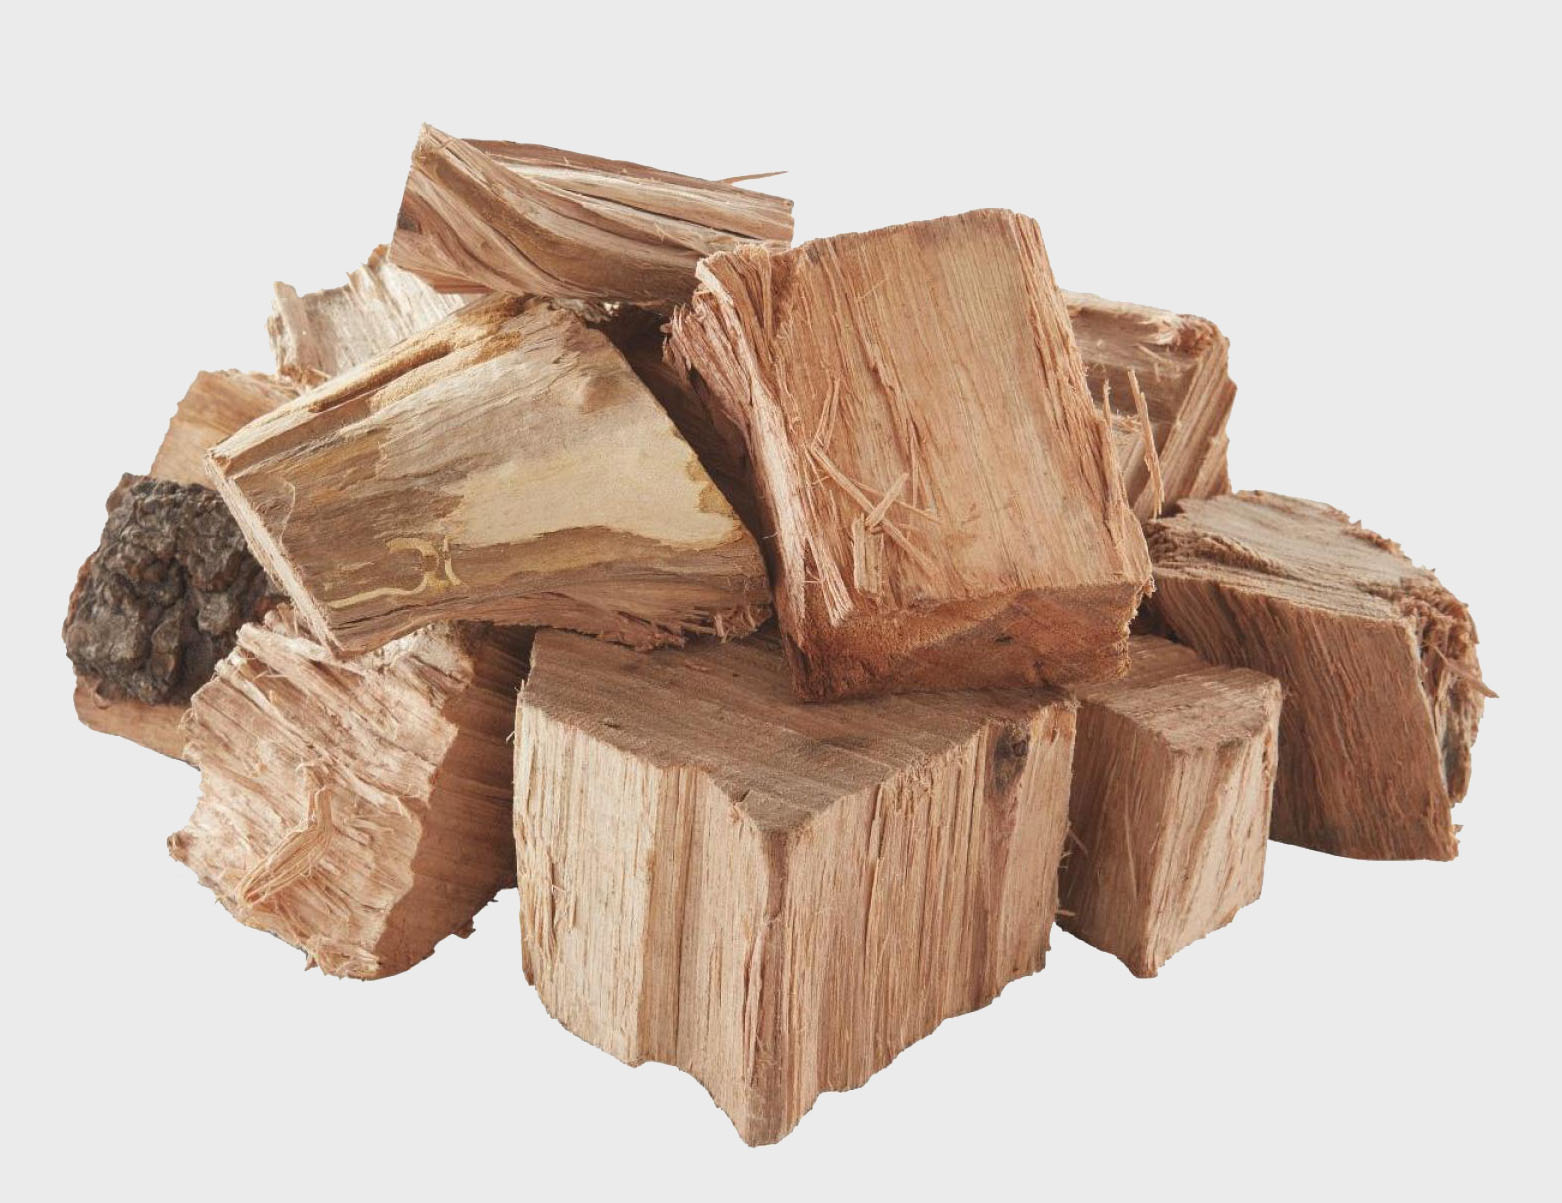
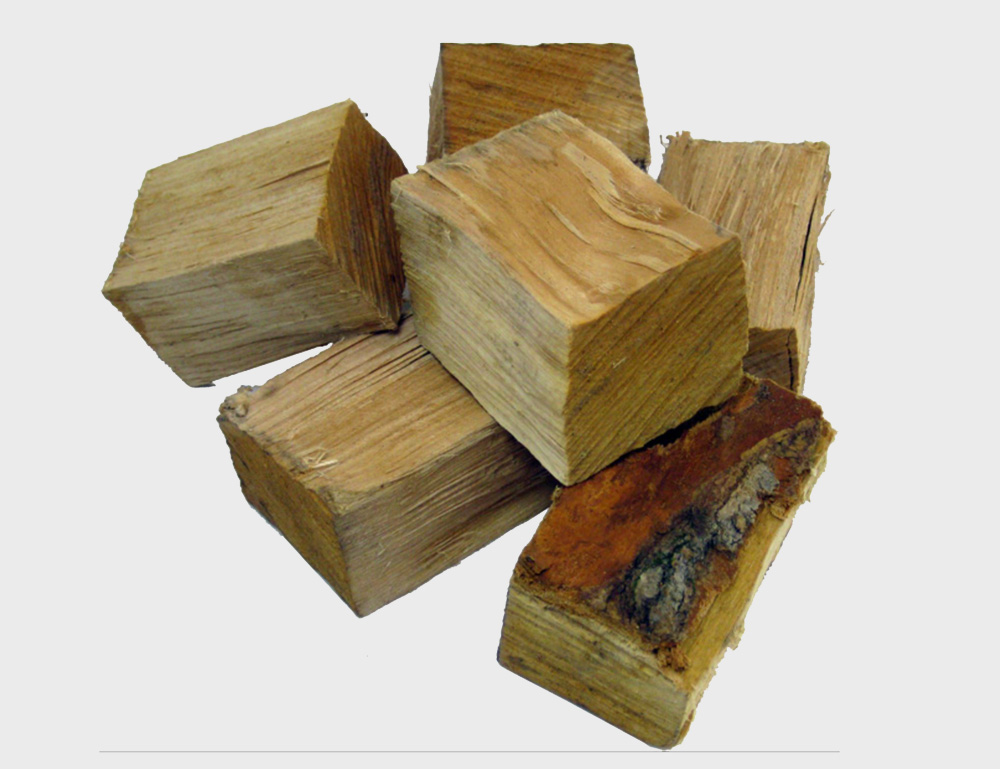
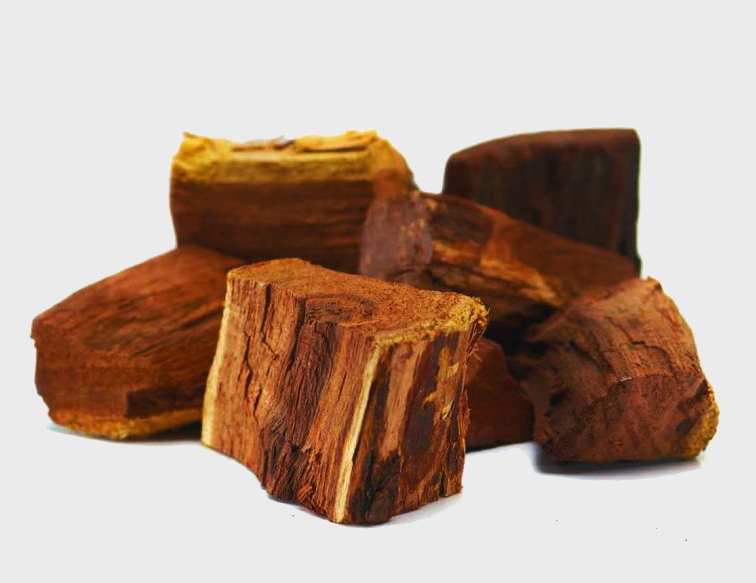
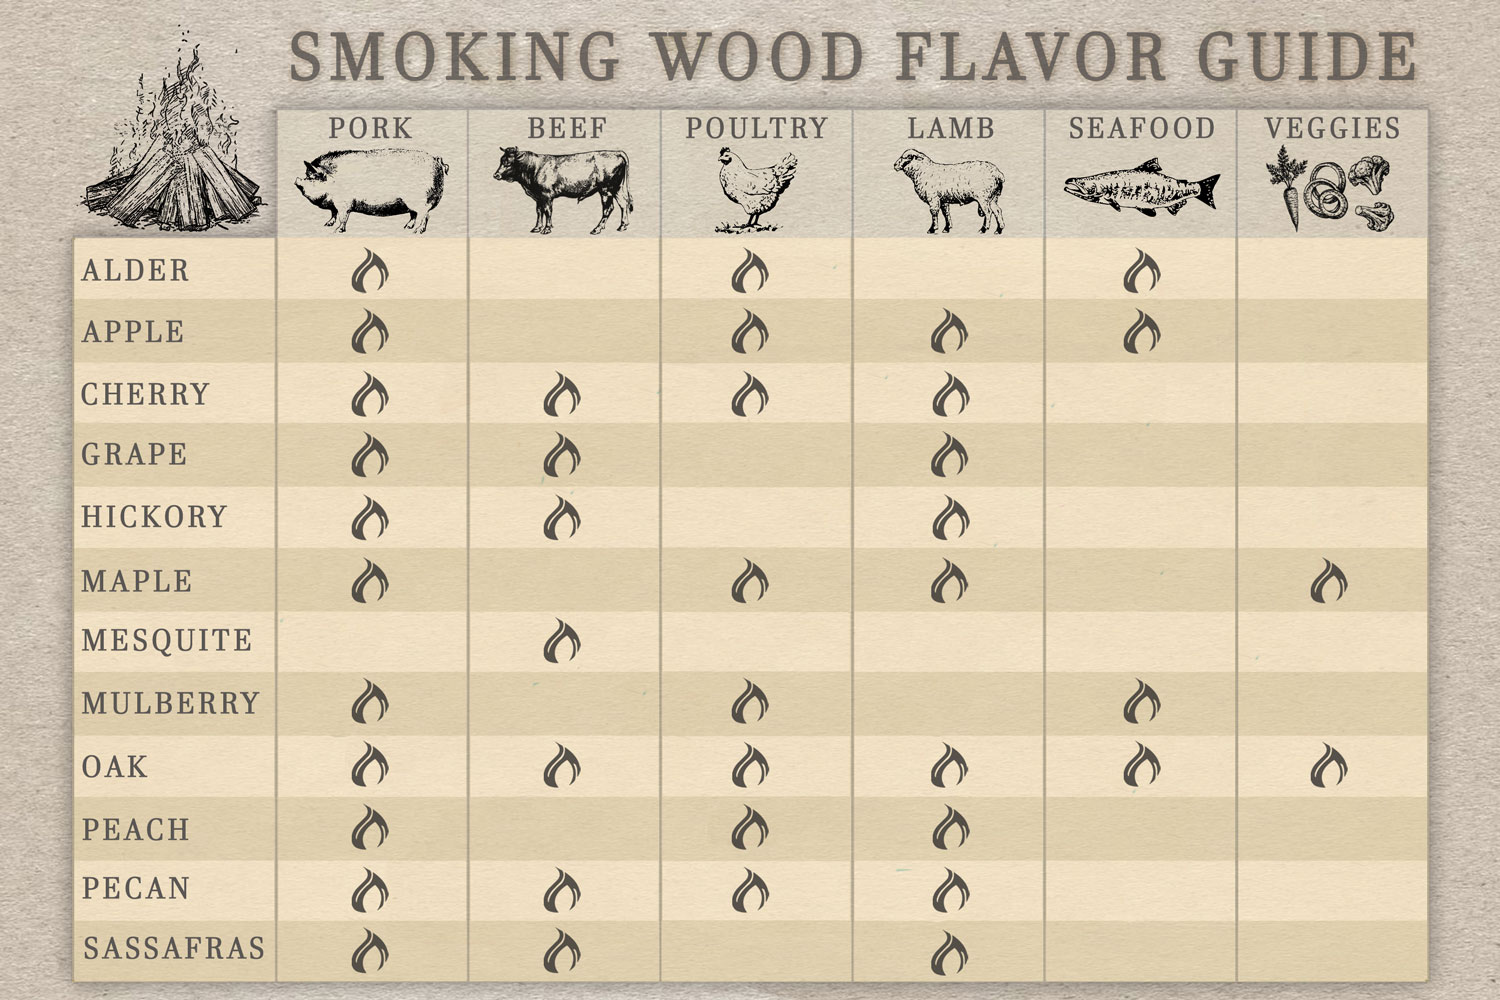
4. Add a few wood chunks or a large handful of chips to your fire. (We used apple wood; fruit woods are great for pork but you can also use oak, pecan or even hickory if you like a stronger smoker) Chunks will give you more smoke flavor, make sure to wait for the clean blue smoke! Check out our smoking guide for more help.
5. Place the meat on the smoker and cook until internal temperature is around 150-160°
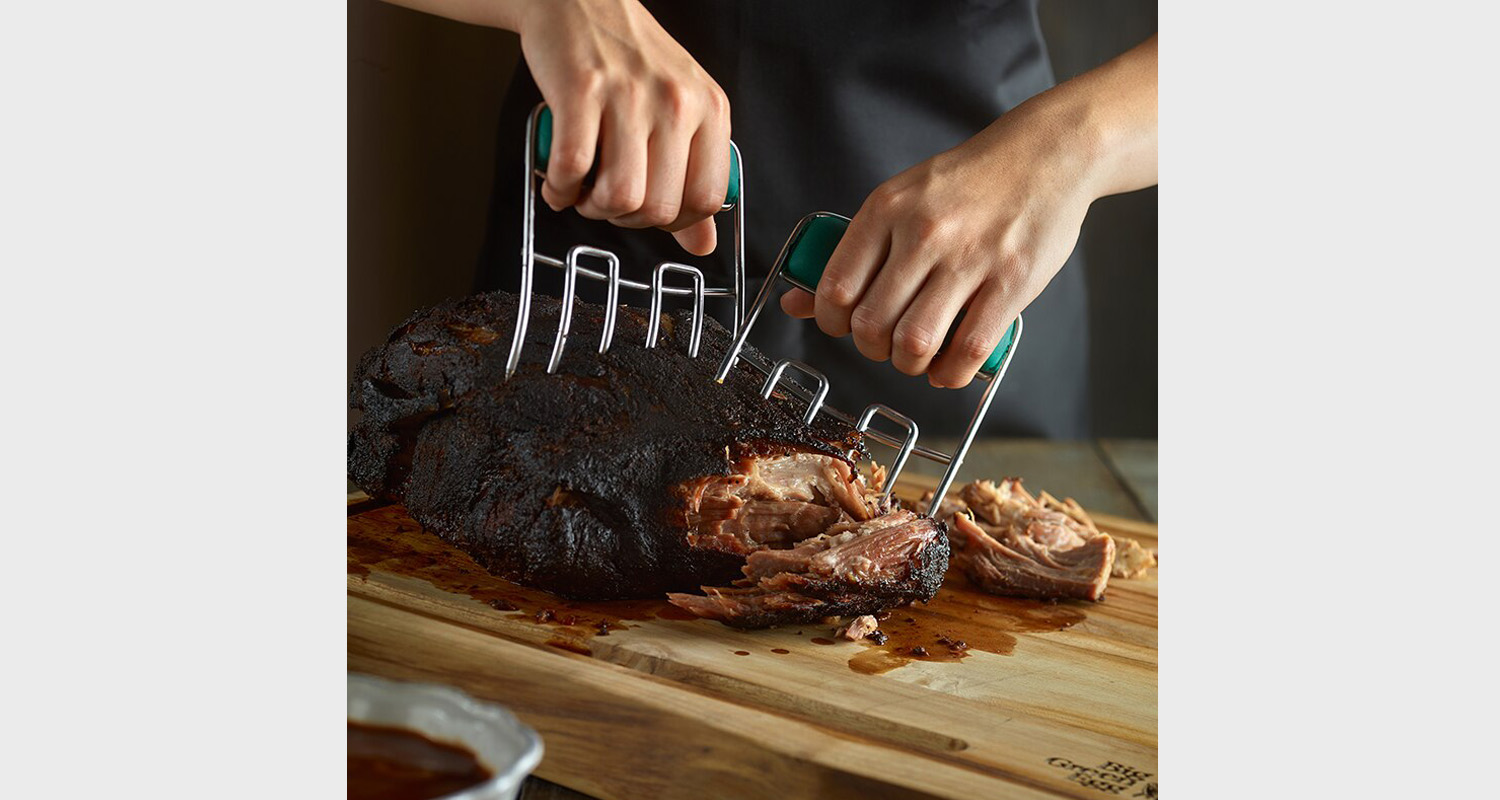
6. Once the ribs reach an internal temperature of around 160°, take off the smoker and wrap them with aluminum foil. Then return to the smoker until probe tender or until internal temperature reaches 175-200°. If you’d like more of a bite on your ribs, cook until around 175°, if you like more fall off the bone cook until 190-200°. (Wrapping is not completely necessary, but I feel it helps not only cook it a little quicker but it helps it hold in more moisture and makes the meat that much more tender.)
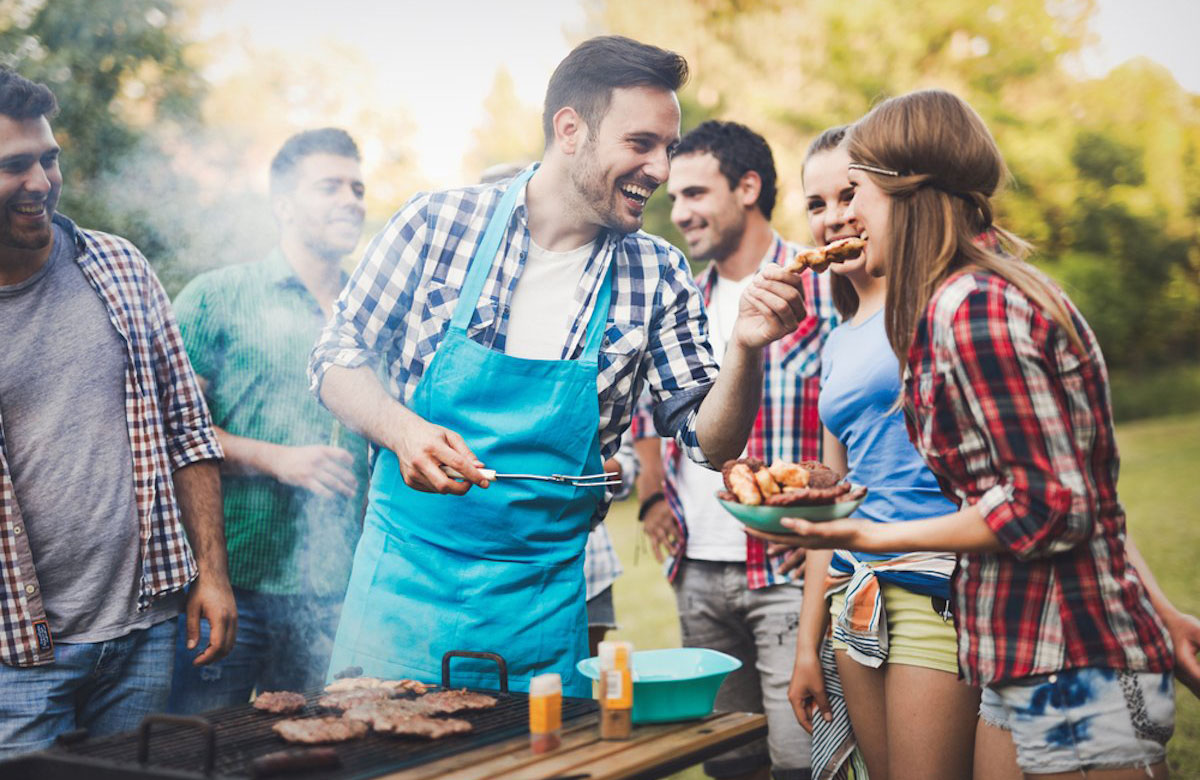
7. Once the ribs reach an internal temperature of around 175-200°, take off the smoker. At this point, they are good to eat! But If you like a little more char on your ribs like me, either crank up the heat on the smoker or turn your grill on high. Then place your ribs on the grill until you get a nice char on them, just a few minutes per side. If you like to add bbq sauce to your ribs, this would be the time to do it. Slather it on the ribs while on the grill and let it caramelize for a few minutes per side.
8. Remove from the grill, let rest for a couple of minutes, and then dive in! Feel free to add a little bit of seasoning or sauce if needed.


Comments/Questions
We’d love to hear from you! Give us a comment on what you thought, if you have any questions, or about what you did differently to make them even better!


